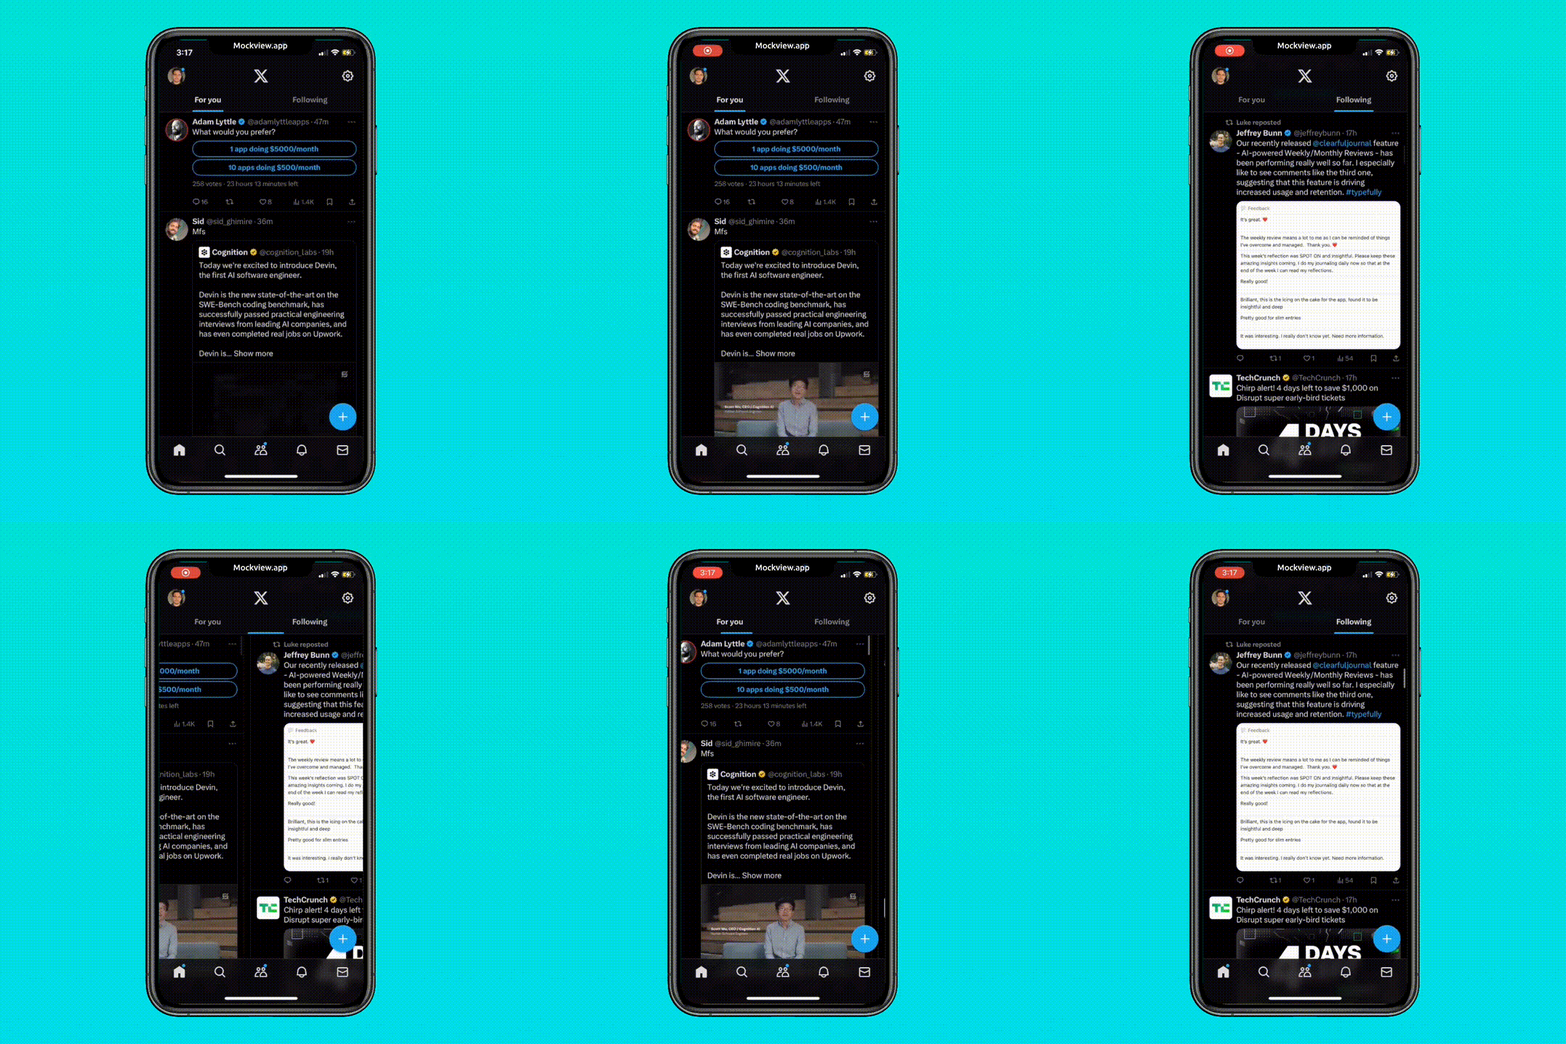
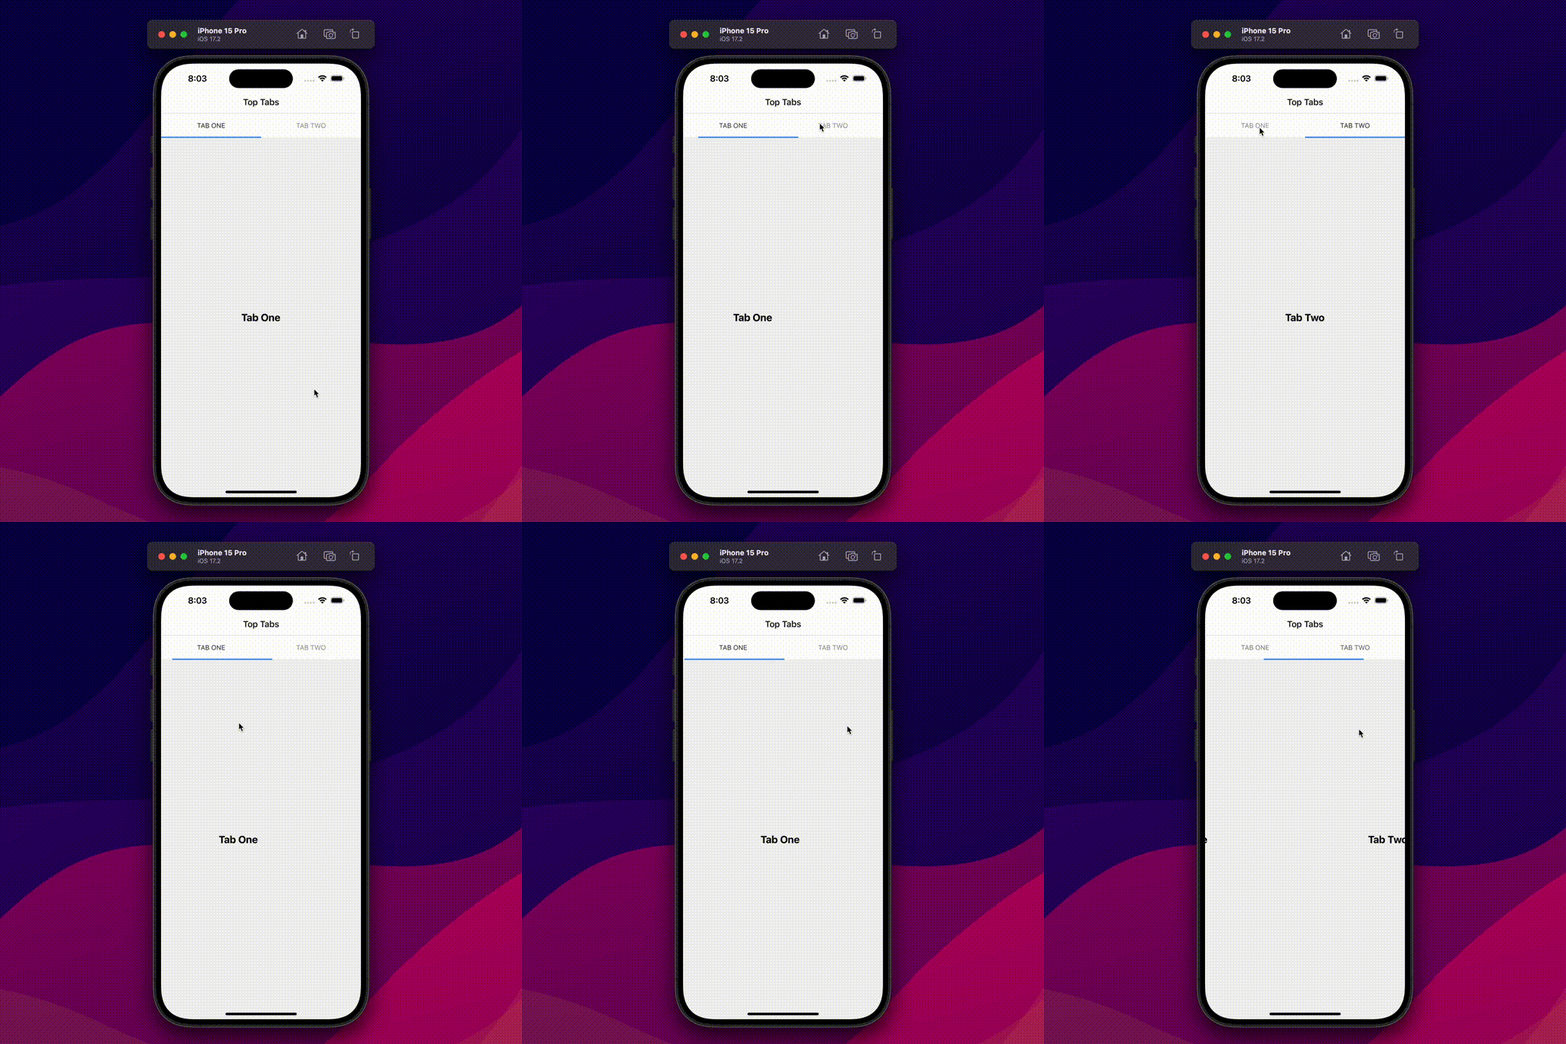
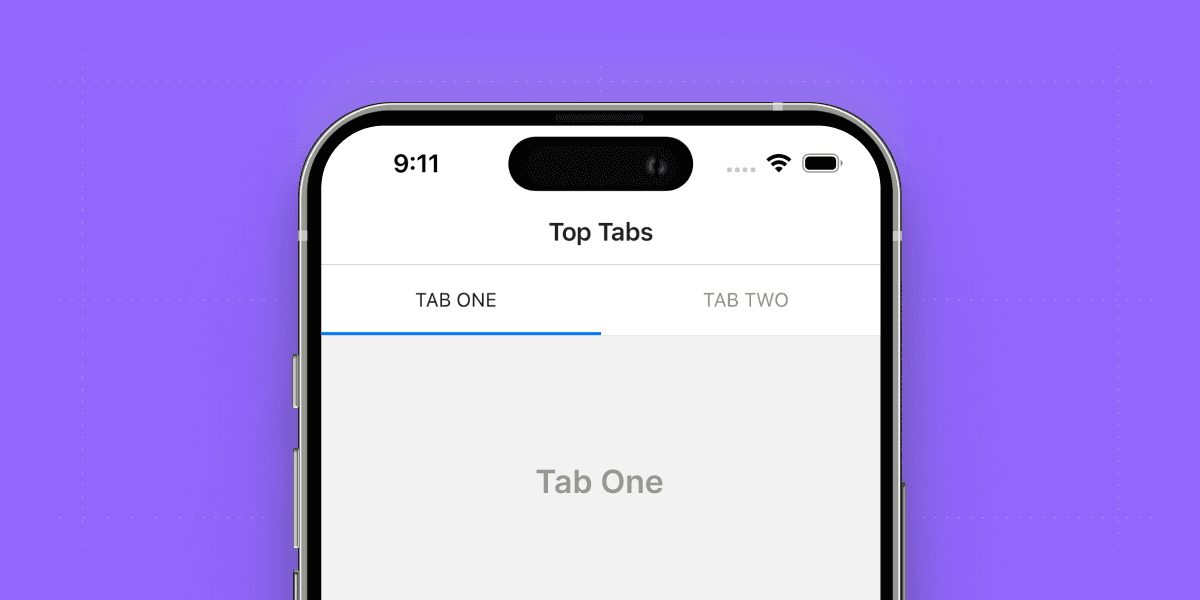
Expo Router has revolutionized the development experience for React Native apps, providing developers with a seamless and intuitive navigation solution. Built on top of the popular React Navigation library, Expo Router offers extensive support for various navigation stacks. However, one notable omission is the lack of built-in support for Material Top Tabs, a highly sought-after navigation pattern that features a sleek top navigation bar. If you've ever used the Twitter app on your phone, you're already familiar with the smooth and efficient navigation provided by Material Top Tabs. But fear not, as this article will guide you through the process of integrating Material Top Tabs into your Expo Router project, enabling you to create stunning and user-friendly navigation experiences.

In this article, you'll learn how to integrate Material Top Tabs into your Expo Router project. We'll start by creating a new Expo project and then add Material Top Tabs to the project. By the end of this article, you'll have a fully functional Expo Router project with Material Top Tabs.
Create a new Expo project
First, let's create a new Expo project using the following command:
npx create-expo-app --template
Let's create the following files and followers in side the app/ directory:
app/
  _layout.tsx
  (top-tabs)/
    _layout.tsx
    index.tsx
    two.tsx
Now let's update the root _layout.tsx file in side the app/ directory and add the following code:
// app/_layout.tsx
import { Stack } from "expo-router";

export default function RootLayout() {
  return <RootLayoutNav />;
}

function RootLayoutNav() {
  return (
    <Stack>
      <Stack.Screen name="(top-tabs)" options={{ title: "Top Tabs" }} />
    </Stack>
  );
}
Because Expo router doesn't support Material Top Tabs out of the box, we have to add the package manually. Let's install the package using the following command:
npm i @react-navigation/material-top-tabs
Now let's update the app/(top-tabs)/_layout.tsx file and add the following code:
// app/(top-tabs)/_layout.tsx
import {
  MaterialTopTabNavigationEventMap,
  MaterialTopTabNavigationOptions,
  createMaterialTopTabNavigator,
} from "@react-navigation/material-top-tabs";
import { withLayoutContext } from "expo-router";
import { ParamListBase, TabNavigationState } from "@react-navigation/native";

const { Navigator } = createMaterialTopTabNavigator();

export const MaterialTopTabs = withLayoutContext<
  MaterialTopTabNavigationOptions,
  typeof Navigator,
  TabNavigationState<ParamListBase>,
  MaterialTopTabNavigationEventMap
>(Navigator);

export default function TabLayout() {
  return (
    <MaterialTopTabs>
      <MaterialTopTabs.Screen name="index" options={{ title: "Tab One" }} />
      <MaterialTopTabs.Screen name="two" options={{ title: "Tab Two" }} />
    </MaterialTopTabs>
  );
}
Now let's update each screen with some dummy content.
// app/(top-tabs)/index.tsx
import { StyleSheet, Text, View } from "react-native";

export default function TabOneScreen() {
  return (
    <View style={styles.container}>
      <Text style={styles.title}>Tab One</Text>
    </View>
  );
}

const styles = StyleSheet.create({
  container: {
    flex: 1,
    alignItems: "center",
    justifyContent: "center",
  },
  title: {
    fontSize: 20,
    fontWeight: "bold",
  },
});
// app/(top-tabs)/two.tsx
import { StyleSheet, Text, View } from "react-native";

export default function TabTwoScreen() {
  return (
    <View style={styles.container}>
      <Text style={styles.title}>Tab Two</Text>
    </View>
  );
}

const styles = StyleSheet.create({
  container: {
    flex: 1,
    alignItems: "center",
    justifyContent: "center",
  },
  title: {
    fontSize: 20,
    fontWeight: "bold",
  },
});
That's it! Now you have Material Top Tabs in your Expo Router project. You can now run the project using the following command:
// run on ios
npm run ios
// run on android
npm run android

I hope this article helps you to integrate Material Top Tabs into your Expo Router project. If you have any questions or feedback, feel free to reach out to me on Twitter.
